
Last updated November 22, 2026
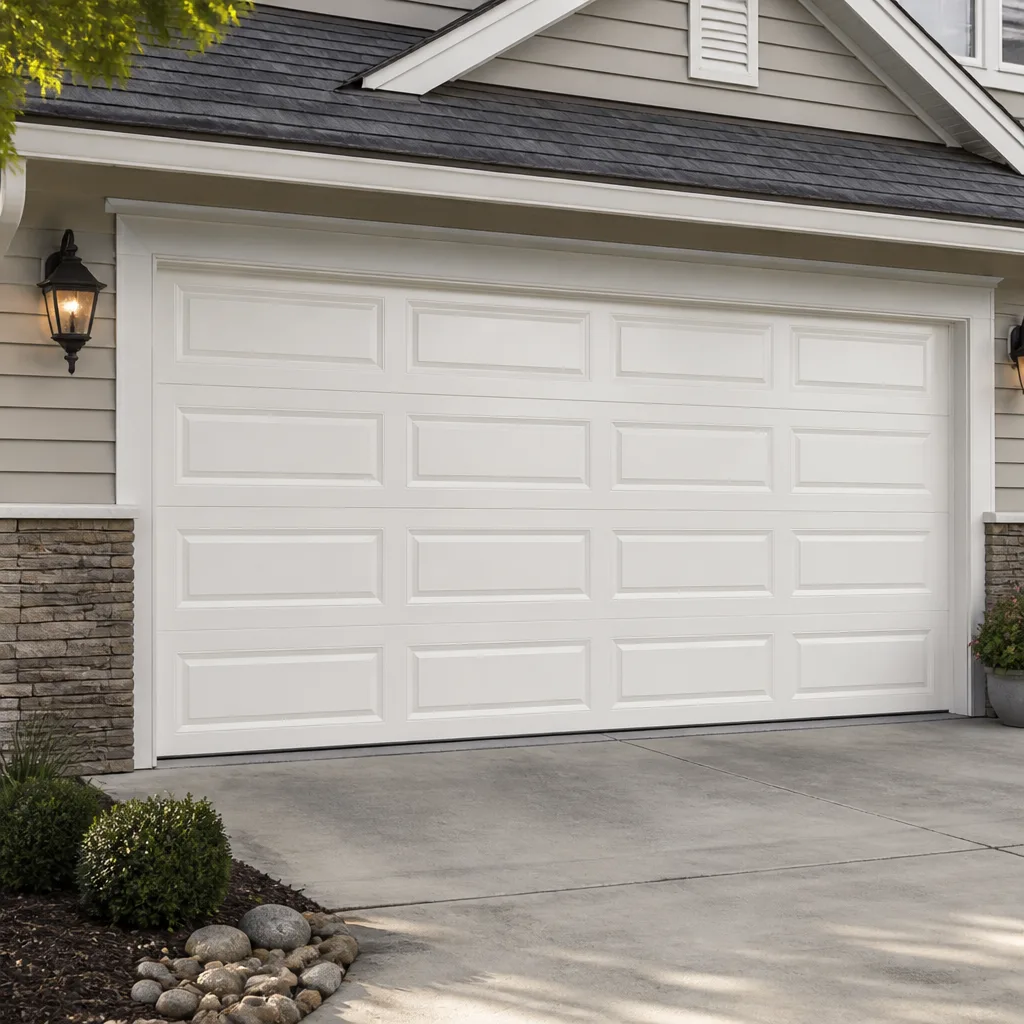 Raised-panel steel
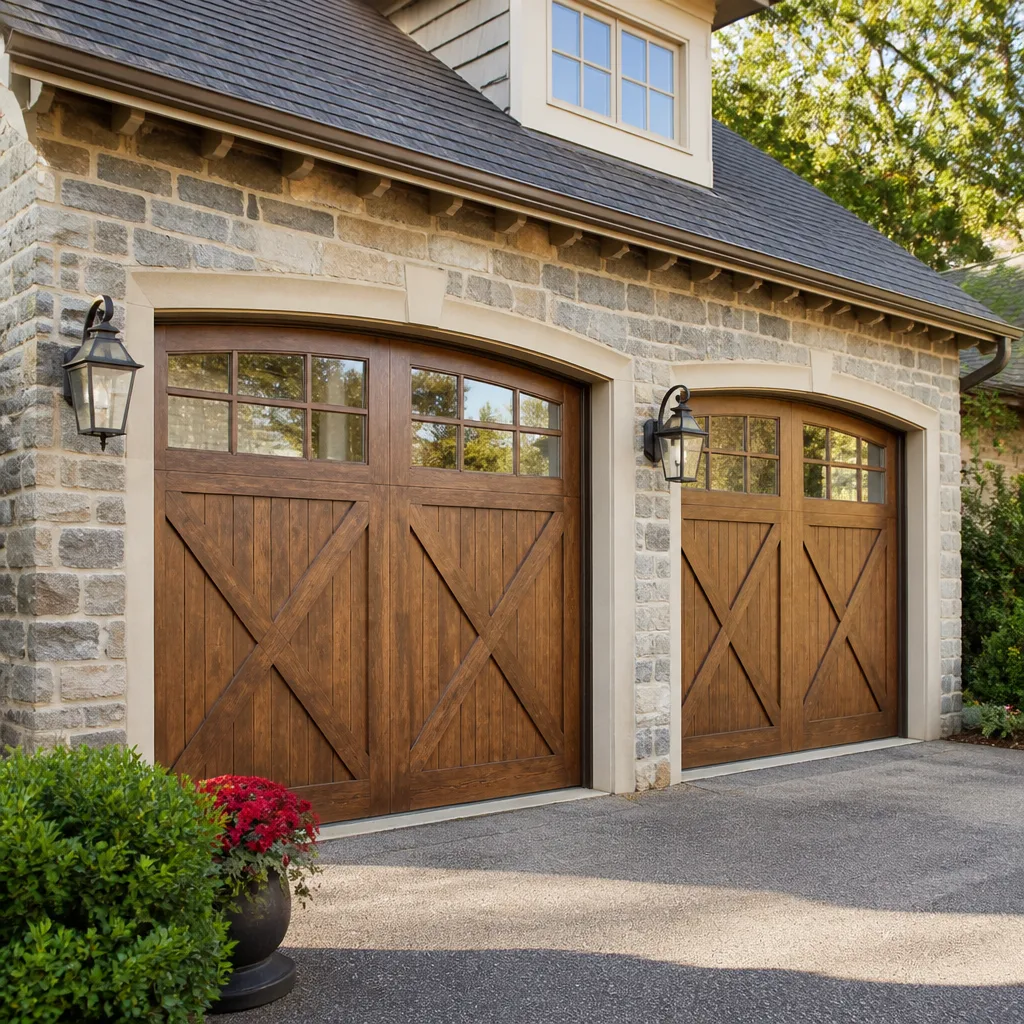 Carriage house
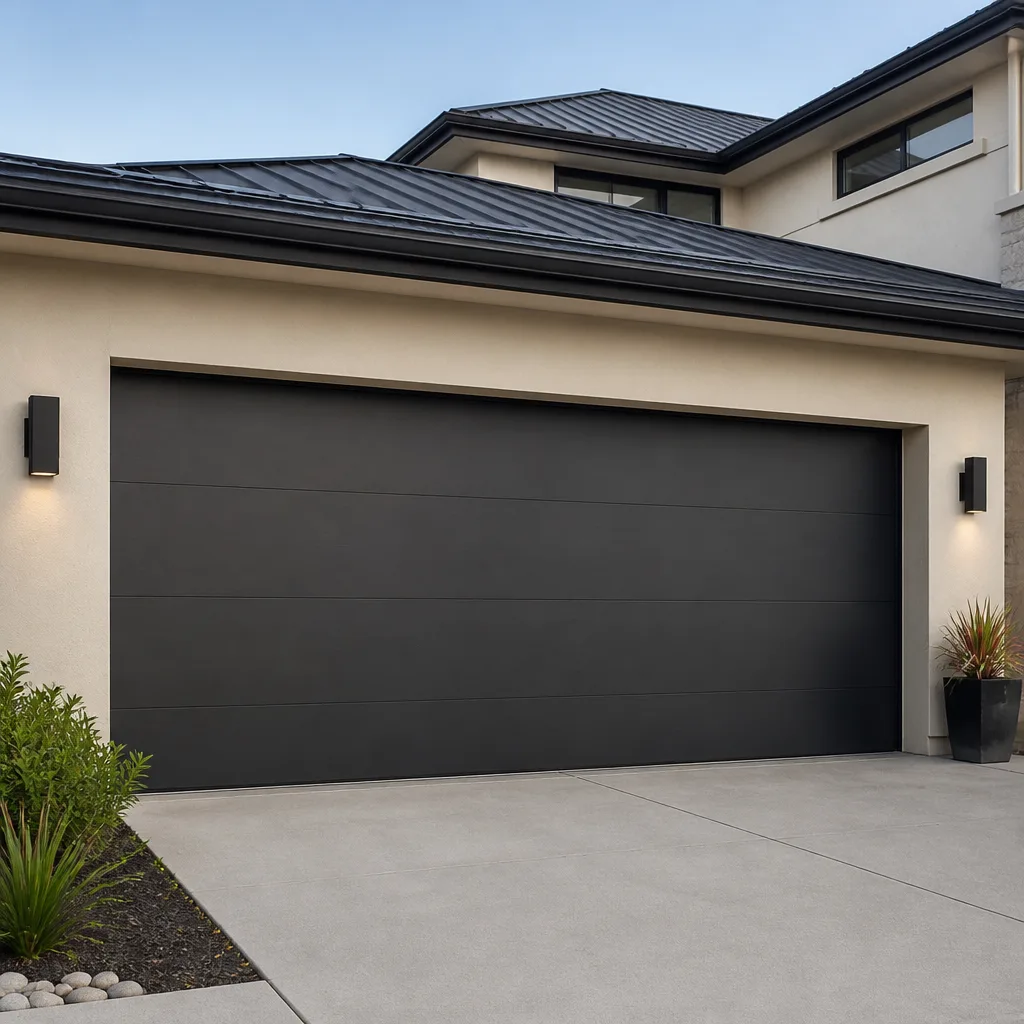 Modern flush
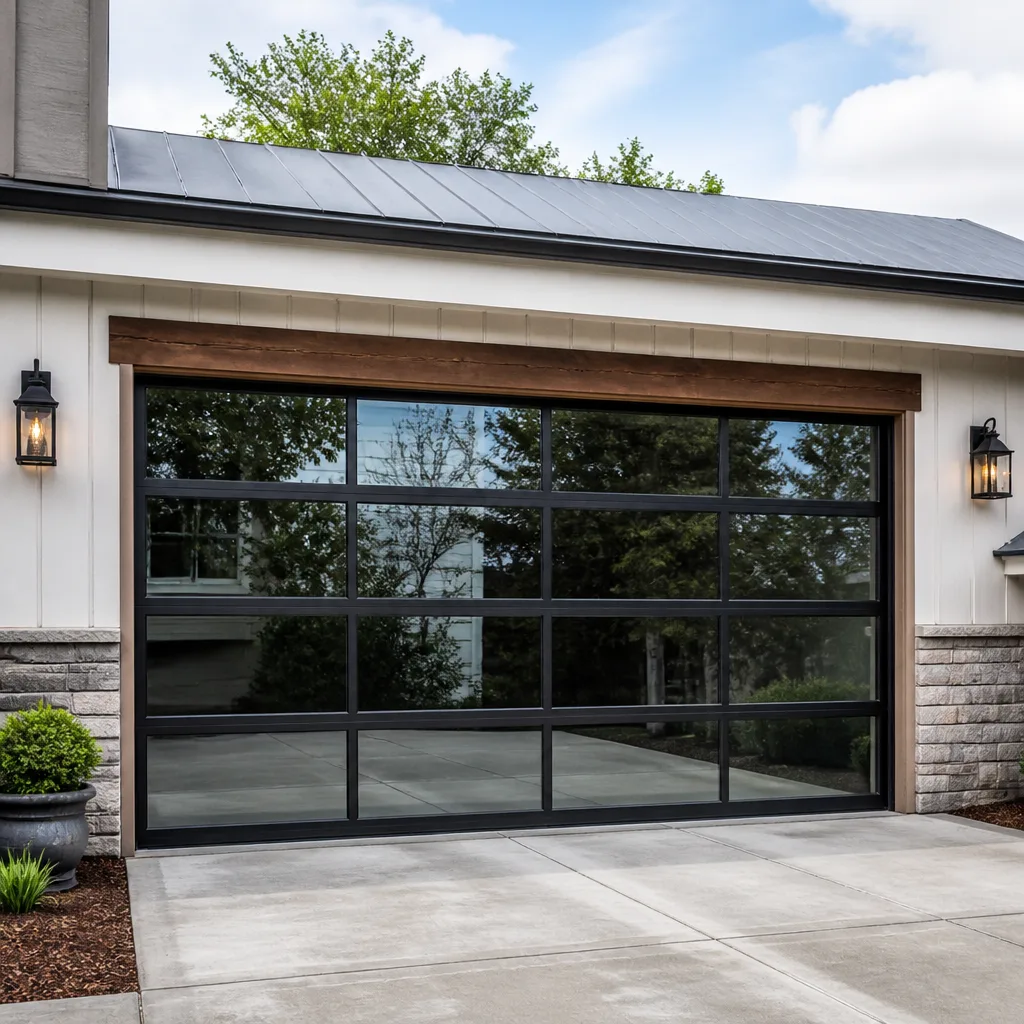 Full-view glass
 LiftMaster openers
 Chamberlain openers
Full 25-point door and opener safety check with every visit - springs, cables, rollers, tracks, and your LiftMaster or Chamberlain opener included
You get a price before we start. It does not change when the pro arrives.
Get your free estimateDIY vs Professional Garage Door: The Taunton Homeowner’s Decision Guide
Torsion springs store enough energy to cause fatal injuries when they release unexpectedly. That’s physics, not a liability disclaimer. Yet the same homeowner who should never touch a torsion spring can safely replace a bottom weatherstrip, swap a keypad battery, or realign a photo-eye in ten minutes. The trouble is that most advice lumps every garage door task into one bucket and calls it “handyman work.” It isn’t. This guide sorts garage door jobs into three honest categories: genuinely DIY-safe, DIY with real risk, and professional-only under any circumstances. You’ll also get a straight cost-benefit look at DIY opener installation, the Massachusetts liability angle if a repair fails, and the telltale signs technicians spot when a door has “already been worked on.” By the end, you’ll know exactly where the line sits for your door in Taunton.
Quick Answer
Weatherstripping, photo-eye alignment, keypad batteries, lubricating tracks and rollers, and balancing a door by hand are genuinely safe DIY jobs. Torsion springs, cable replacement, and any work on a door under tension are professional-only, because a released torsion spring can kill you and a snapped cable can take a finger. Opener installation sits in the middle: technically a DIY project, but it involves high-voltage wiring, precise force calibration, and a safety-reverse test that most homeowners skip. If you’re unsure which category your job falls into, that uncertainty is your answer: call a specialist.
Styles & brands we work with
- Raised-panel steel
- Carriage house
- Modern flush
- Full-view glass
- LiftMaster openers
- Chamberlain openers
Table of Contents
- Why the DIY Question Is Really a Risk-Calibration Question
- What a Torsion Spring Actually Does (and Why It’s Not a DIY Job)
- The Three-Bucket Task List: Safe DIY, DIY With Risk, Professional-Only
- The Tools Spring Work Requires and Why Tutorials Skip the Dangerous Parts
- DIY Opener Installation: The Real Cost-Benefit in Taunton
- Massachusetts Liability If a DIY Repair Fails
- How to Tell If a Previous DIY Repair Caused Your Current Problem
- When to Call a Professional
Why the DIY Question Is Really a Risk-Calibration Question
The garage door is the largest moving object in most homes. It weighs between 100 and 300 pounds depending on material and size, and it moves on tracks under tension every single day. That’s a machine, not a cabinet door. Treating it like a weekend project you can eyeball your way through is where injuries begin.
The right question isn’t “Am I handy enough?” It’s “What is the actual physical hazard of this specific task?” A weatherstrip sits at the bottom of the door and holds no stored energy. A torsion spring sits above the door holding hundreds of pounds of force in a coiled steel bar. These are not the same job with different difficulty levels. They’re different jobs in different categories entirely.
We’ve seen the pattern often enough in Taunton to recognize it: a homeowner watches a video, feels confident, and tackles a spring because the video made it look like a wrench-and-two-screwdrivers operation. The video cut the dangerous part. It always does, because the dangerous part is exactly where filming would be reckless.
Here’s the calibration framework we use when thinking about any garage door task:
- Does the task involve stored mechanical energy? Springs, cables, and counterbalance assemblies are all off-limits. If releasing a bolt could turn a component into a projectile, stop.
- Does the task involve the high-voltage side of the opener? Low-voltage wiring for safety sensors is fine. Hardwiring an opener to the house circuit belongs to an electrician or a technician.
- Does the task require you to stand on a ladder directly beneath overhead tension? That’s a hard no. A ladder tip under a loaded spring is a serious injury waiting to happen.
- Does a failed repair create a security gap? A door left open or partially off its tracks while you wait for parts leaves your home exposed.
Every task you can place in your garage door’s life sorts itself into one of those four questions. Answer honestly and the DIY-versus-professional decision usually makes itself.
What a Torsion Spring Actually Does (and Why It’s Not a DIY Job)
A torsion spring counterbalances the weight of your door so a person can lift 200 pounds with one hand. It does this by staying wound under tension at all times, even when the door is closed and doing nothing. That stored energy doesn’t dissipate because the door is parked.
When a torsion spring fails, it releases that energy in a fraction of a second. The winding bars, the spring itself, and the shaft can all move before anyone has time to react. There’s no “careful” approach that makes this safe for an untrained person, because the danger isn’t clumsiness. It’s the fact that the component is under load the entire time you’re touching it.
This is why spring work is a specialized trade, and why many general handymen won’t touch it. They know the risk-to-reward math doesn’t work for them. We treat garage door spring repair as a core specialty precisely because it’s the job that most needs a trained pair of hands.
Extension Springs Versus Torsion Springs
Some older Taunton homes have extension springs running along the horizontal tracks instead of a torsion bar above the door. Extension springs are also under tension and also dangerous. They fail differently, usually by breaking and whipping, which is why many modern installs include safety containment cables. Whether your door has extension or torsion springs, the answer is the same: this is not a homeowner task.
What you can safely do is observe. A spring that has a visible gap, a curl at the end, or a door that suddenly feels twice as heavy to lift by hand is telling you something. Lift the door a few inches by hand to check balance, then stop and call. That’s the safe check. Working on the spring itself is not.
The Three-Bucket Task List: Safe DIY, DIY With Risk, Professional-Only
This is the list most garage door guides never give you in clean form. Here it is, sorted by actual hazard rather than by difficulty.
Bucket 1: Genuinely Safe DIY
- Replacing the bottom weatherstrip or threshold seal
- Replacing side and top weatherstripping
- Cleaning and lubricating tracks, rollers, and hinges with a proper garage door lubricant
- Wiping down and cleaning the door panels
- Realigning or cleaning photo-eye safety sensors
- Replacing keypad or remote batteries
- Reprogramming a remote or keypad to an existing opener
- Lifting the door by hand to check for balance (check only, not adjust)
- Tightening visible loose bolts on hinges and brackets that aren’t under tension
Bucket 2: DIY With Real Risk (Specific Tools and Knowledge Required)
- Replacing rollers (safe when the door is closed and fully supported, risky if done wrong)
- Adjusting opener travel limits and force settings of a LiftMaster or Chamberlain unit
- Replacing a wall-mounted opener button or low-voltage sensor wiring
- Installing a new opener on an existing door (see the dedicated section below)
- Replacing a bent bottom bracket (doable only with the door fully raised and clamped)
- Removing and reinstalling the door from its tracks for painting or panel replacement
Bucket 3: Professional-Only, No Exceptions
- Torsion spring replacement or adjustment
- Extension spring replacement
- Cable replacement or re-tensioning
- Drum and counterbalance assembly work
- Straightening a bent or twisted track
- Replacing a broken or bent center bearing plate
- Any work on a door currently off its tracks or hanging unevenly
- Hardwiring a new opener to the house electrical circuit
The line between bucket 2 and bucket 3 is this: if the part stores energy that would release if you let go, it’s bucket 3. If it doesn’t, it may be a bucket 2 project for a careful homeowner with the right tools. When in doubt, treat it as bucket 3.
The Tools Spring Work Requires and Why Tutorials Skip the Dangerous Parts
Walk into any hardware store and you can buy a wrench and a screwdriver for twenty dollars. That’s what most spring replacement videos imply you need. It isn’t. Proper torsion spring work requires purpose-built tools that most homeowners don’t own and shouldn’t buy for a one-time job.
The Actual Tool List for Torsion Spring Work
- Winding bars of the correct diameter and rated for the spring size. Using a screwdriver or a random steel rod as a winding bar is the single most common cause of serious spring injury.
- A proper set of locking pliers or winding bar retainers to hold the spring under tension at the right moment.
- A spring winding chart or the manufacturer’s specification to know exactly how many turns the new spring needs at the right door height.
- Safety glasses, gloves, and a hard hat, because the failure mode here is parts flying, not parts dropping.
- A stable ladder with a spotter – never a step stool in a two-foot-wide space under a loaded bar.
- The correct replacement spring matched to door weight, height, and cycle life – a wrong-rated spring will fail early or overload the opener.
That last point is where most tutorials quietly fail. A video can show you the winding action, but it can’t tell you whether the spring you bought is correctly rated for your door. A mismatched spring either sags quickly or puts too much load on the opener. Either way, you’re back to a broken door.
Why the Dangerous Parts Get Cut
Every spring replacement video you can find online cuts the same moment: the actual release and winding under load. That’s not an editing oversight. It’s a safety decision made by people who understand that showing the dangerous action invites injury. What’s left is the “before” and “after” – the part of the job that isn’t dangerous because the spring isn’t loaded yet.
The dangerous middle is the whole job. That’s why we handle garage door repair on springs and cables ourselves rather than referring them out. It’s also why, when a Taunton homeowner calls with a broken spring and says “I watched a video,” our first questions are about the door’s current state, not about whether they feel ready to try again.
DIY Opener Installation: The Real Cost-Benefit in Taunton
Replacing a garage door opener is the most common DIY temptation because it looks like a straightforward swap: take the old one down, hang the new one up, connect the rail, wire the safety sensors, done. The parts are easy to buy. The install isn’t as simple as the box suggests.
What a DIY Opener Install Actually Involves
- Removing the old unit safely – the opener is heavy, the rail is long, and the door is attached to it through the arm.
- Mounting the new opener to the ceiling – angle iron or straps, correctly placed so the rail runs straight to the door.
- Setting the door arm position so the opener lifts without binding the door.
- Wiring the safety reversing sensors at the correct height and alignment, with wire routed cleanly to the head unit.
- Hardwiring the opener to the house circuit or plugging into an existing outlet. If you’re adding a dedicated circuit, that’s an electrician’s job.
- Setting the travel limits and force adjustment so the door stops correctly at open and closed positions.
- Running the safety-reverse test with a 2×4 laid flat under the door, and the photo-eye test with an obstruction in the beam.
Steps 6 and 7 are where DIY installs go wrong most often. An opener that closes on a person or object because the force setting was too high is a serious hazard, and the safety-reverse test is the one most homeowners skip when they’re tired and just want the project done.
The Cost-Benefit Breakdown
- Parts cost: A basic chain-drive opener runs less than a belt-drive smart unit like a LiftMaster or Chamberlain with myQ connectivity. You’re paying for the unit either way.
- What can go wrong: Mis-set force limits, mis-aimed safety sensors, unbalanced doors that wear out the new opener, and wiring that fails inspection. Any of these turns a saved install fee into a service call.
- What a professional install buys you: A correctly balanced door, correct opener sizing, safety-reverse verification, and proper wiring. On a new installation or full door replacement, the labor is folded into the project, not a separate line item you can trim.
For an opener-only swap on a door that’s already balanced, DIY is a legitimate choice for a confident homeowner. For a new door plus opener combo, or for a door that’s never been balanced properly, a professional installation is money well spent. We cover both sides of that work through garage door opener repair and full installs, which means we’ve seen both the well-executed DIY swap and the install that failed a safety test a week after the box was opened.
Massachusetts Liability If a DIY Repair Fails
This is the part most DIY guides skip, and it’s the one that matters when something goes wrong beyond your own four walls.
If your garage door fails because of a repair you did yourself and the failure causes damage to a neighbor’s property – a door that swings open in a storm causing a vehicle collision, or a falling panel that damages a shared fence – your homeowner’s insurance may cover the third-party damage, but the claim can complicate your policy and your relationship with your insurer. Massachusetts follows a modified comparative negligence standard in civil cases, which means your share of fault in an accident matters to how damages are allocated. A repair performed outside manufacturer specifications is exactly the kind of fact that shifts fault.
If a guest or a contractor is injured by a door that failed because of your repair, the stakes go up considerably. A door that closes with excessive force because the opener’s safety reverse wasn’t tested is a serious hazard to anyone standing under it.
What This Means for the DIY Decision
- Safe DIY tasks carry negligible liability – a weatherstrip that fails doesn’t injure anyone.
- Bucket 2 tasks carry real liability – an opener install with an untested safety reverse, or a door you reinstalled on the tracks yourself that falls, is a liability event waiting to happen.
- Bucket 3 tasks are professional-only partly because of liability – the reason a licensed technician carries insurance is that this work can cause damage even when done carefully. Doing it uninsured and untrained shifts all of that risk to you.
- Documentation matters – keeping a record of who did the work on your garage door in Taunton is worth more than most homeowners realize if a dispute ever arises.
For the record, the local professional we connect you with is licensed and insured as their state requires. That’s not a detail to gloss over when deciding whether to do the job yourself.
How to Tell If a Previous DIY Repair Caused Your Current Problem
When a technician arrives on a job that’s “already been worked on,” there are specific signs we look for before touching anything. If you’ve ever inherited a DIY repair from a previous owner, or you’re wondering whether your own past repair is the root of today’s problem, here’s what the tell is.
The Signs Technicians Look For
- Mismatched spring sizes or ratings – a spring that’s the wrong gauge or length for the door’s weight shows up as a door that opens unevenly, or an opener that strains and cycles off.
- Screwdriver marks on the winding cone – a winding cone with gouges or rounded corners is a sign that winding bars weren’t used.
- Safety sensors mounted at the wrong height or angle – often tilted, taped, or zip-tied in place because they wouldn’t stay aligned after a DIY install.
- A force setting turned all the way up – a door that stops on a hand rather than reversing at light pressure has been dialed to compensate for a door that’s not balanced.
- Bent or collapsed tracks near a joint – the result of forcing a door back onto its tracks by hand.
- Hinges installed in the wrong holes – a door that grinds or hesitates at one panel often has a hinge that was re-mounted in the wrong position.
- Opener mounted on a sagging rail – if the rail droops, the door arm binds, and the opener fails. It’s almost always an install issue, not an opener failure.
- Exposed or spliced low-voltage wiring – wire nuts behind the track, taped splices to the safety sensors, or a run that was extended with wire of the wrong gauge.
If you recognize any of those on your own door, that’s not a reason to panic. It’s a reason to have a specialist look before you spend more money on parts. A door that’s been “fixed” badly often costs more to correct than the original problem would have. We work on the brand you have – LiftMaster, Chamberlain, Genie, Clopay, Amarr, Wayne Dalton, Craftsman, and Raynor – which means we can trace a bad repair back to the specific opener or door model it was done on and correct it properly.
For Taunton homes with older doors, this matters even more. A twenty-year-old door that’s had a series of DIY repairs often has a good panel and a bad counterbalance. Replacing the counterbalance correctly saves the door. Replacing the door because the wrong repair got expensive is a bigger expense than fixing what’s actually wrong.
Common Mistakes to Avoid
- Using a screwdriver as a winding bar. A screwdriver is the wrong shape, wrong length, and wrong steel for torsion spring work. It’s the most common cause of serious injury on this job. A proper winding bar costs less than one emergency room visit.
- Skipping the safety-reverse test after a DIY opener install. Lay a 2×4 flat under the door and close it. If the door doesn’t reverse, the force setting is wrong. This is non-negotiable, and it’s the step that’s most often missed when a homeowner is tired of the project.
- Forcing a door back onto its tracks. A door that’s tilted or off its tracks has a bent component somewhere. Forcing it back in can bend the track, snap a cable, or cause the door to drop. Leave it and call.
- Adjusting the opener force to compensate for an unbalanced door. If the opener needs more force, the door needs a spring or balance adjustment. Cranking up the force setting hides the problem and overloads the motor.
- Buying springs off the internet without matching weight and height. A spring that’s the wrong rating for your Taunton door will fail early or overload your opener. The spring is matched to the door, not picked from a general listing.
- Replacing the opener when the door is the problem. If the opener keeps tripping, the door isn’t balanced, the rollers are seized, or a spring is failing. A new opener on the same broken door fails too.
- Ignoring the weatherstrip because the door still closes. A failing bottom seal lets water and cold air in through the winter, and a wet track under a Taunton door in freeze-thaw weather is how ice builds under the door and warps the panel. Weatherstrip is the cheapest DIY job in the guide and the most neglected.
See the difference
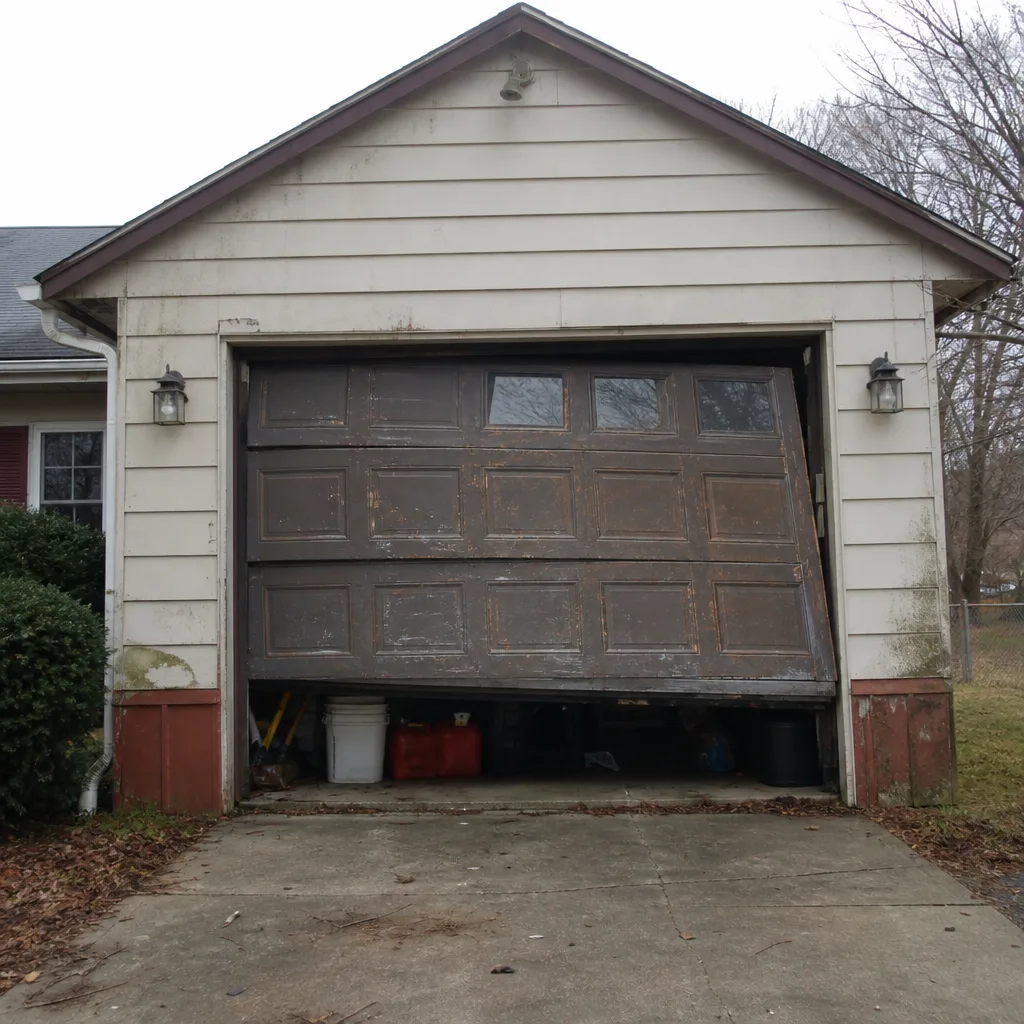 Before
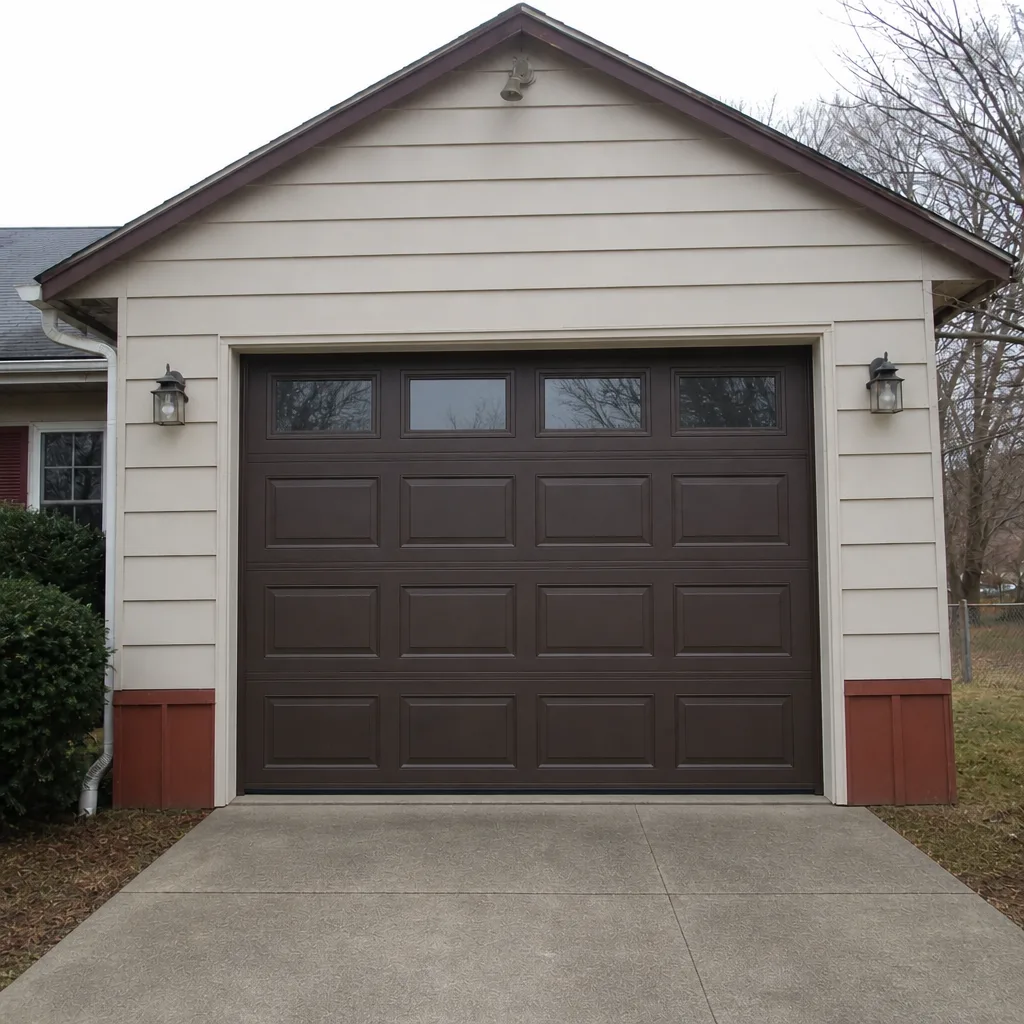 After
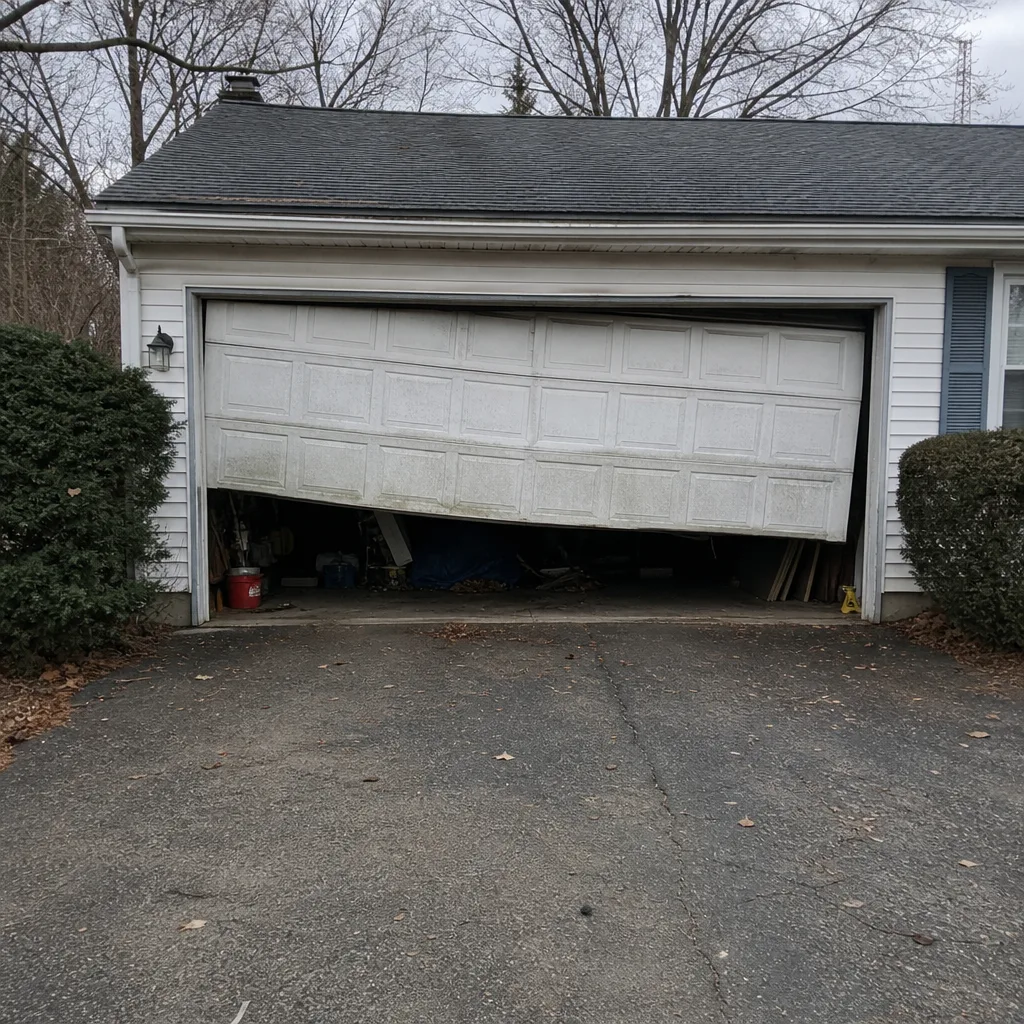 Before
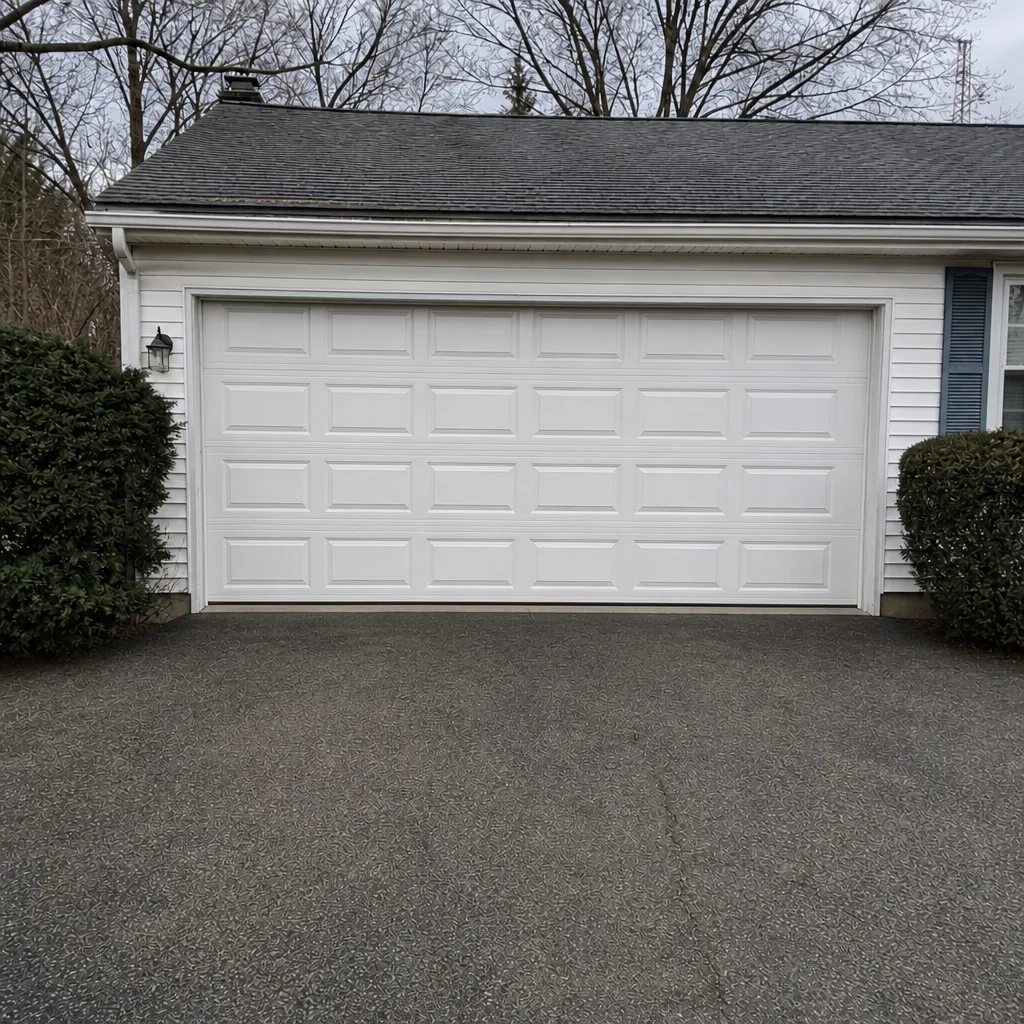 After
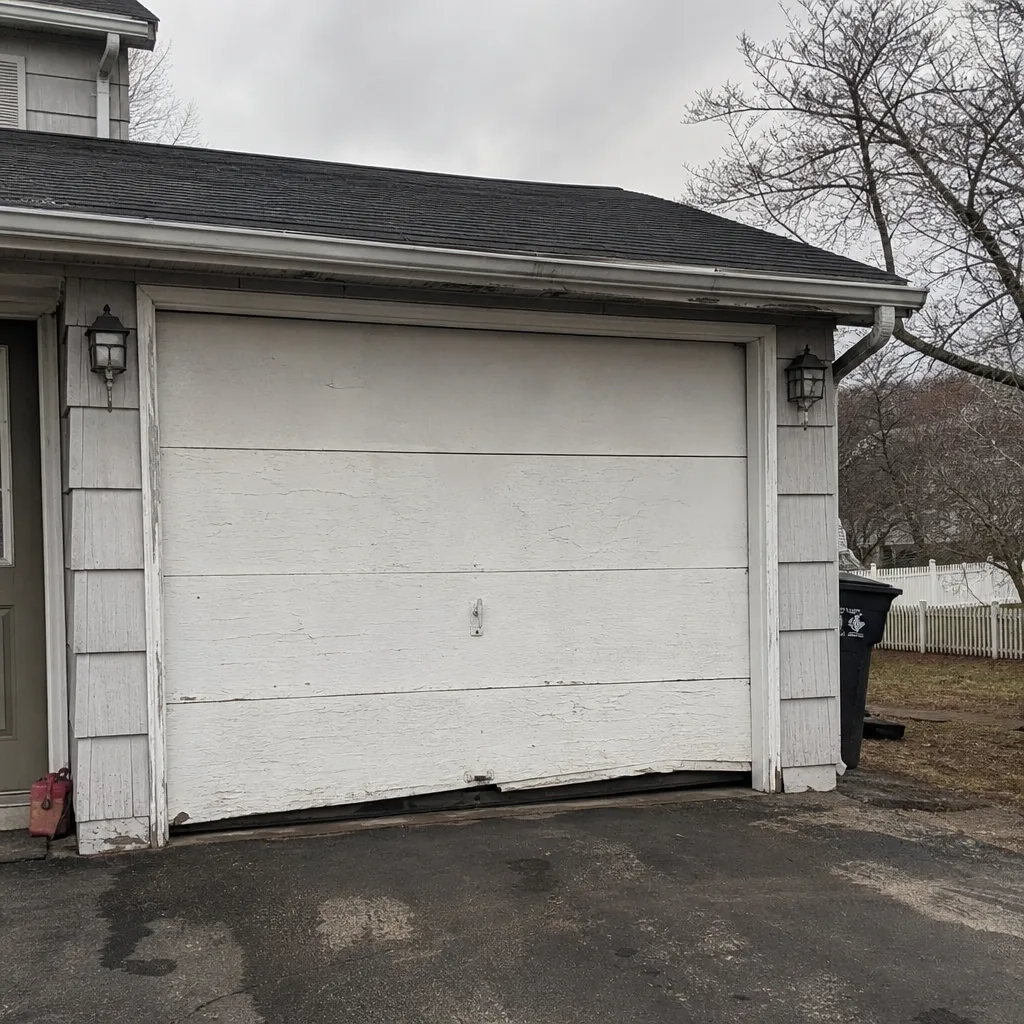 Before
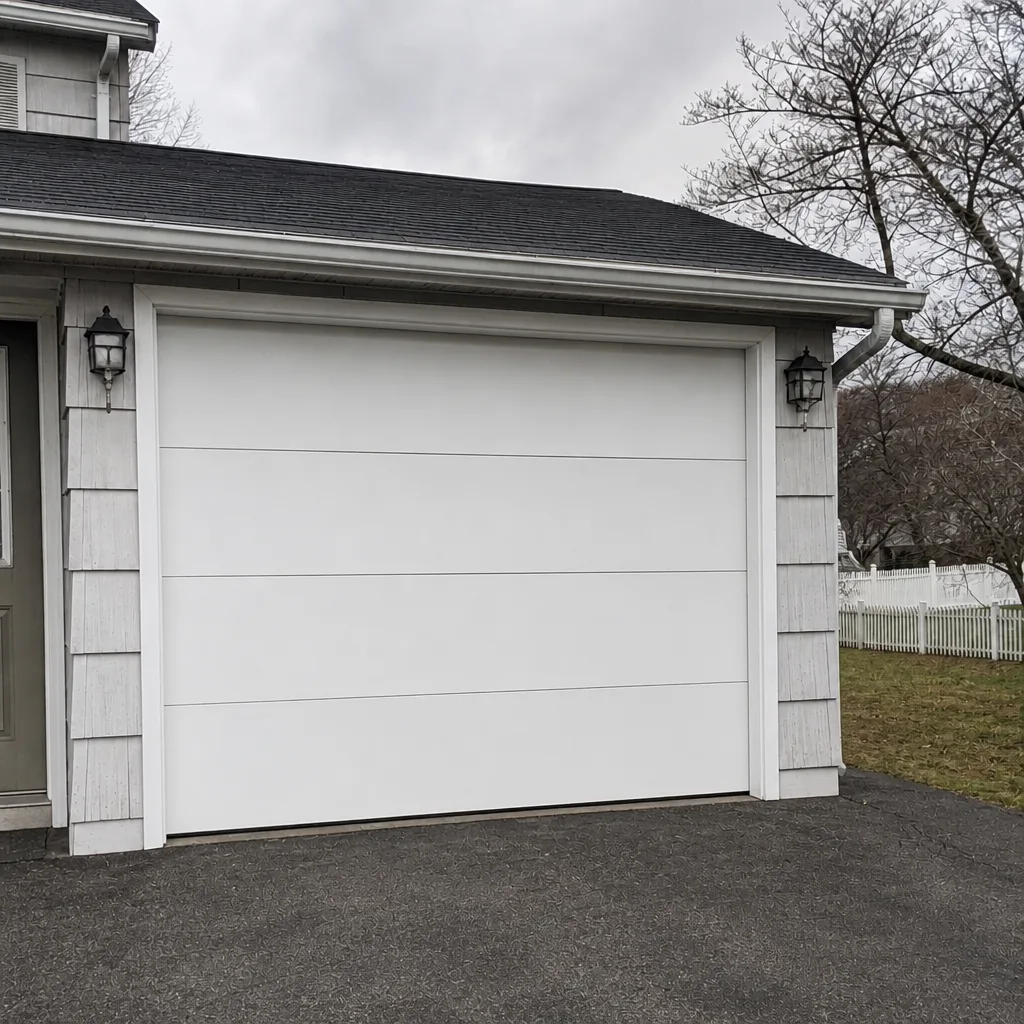 After
When to Call a Professional
Call a professional the moment the job lands in bucket 3, and call faster if the door is off its tracks, hanging unevenly, or making a sharp snapping sound when it opens. A broken spring, a snapped cable, a bent track, a door that won’t close fully, and any work that has you standing under a loaded bar are all professional calls. So is any opener install on a new door or a door that’s never been balanced.
We handle the full lifecycle in Taunton: repair, opener work, spring work, and new-door installation. Our technicians have up to 12 years of experience, and every job on the schedule is a garage door job. Taunton Garage Door Repair Pros offers free estimates in Taunton – call (833) 495-0837. We answer 24/7. Fast dispatch from 7am to 7pm, Sunday through Friday. The price is quoted and agreed before any work starts, so there’s no surprise on the invoice.
Frequently Asked Questions
No. Torsion spring replacement is professional-only work because the spring is under enough stored energy to cause fatal injuries if it releases unexpectedly, and the winding process requires specific tools and training. There’s no safe DIY version of this job. Call (833) 495-0837 for spring repair – estimates are free.
Spring repair is priced per job by a written estimate, and the local professional quotes it before any work begins. The exact figure depends on the spring type, the door’s weight and height, and whether one or a matched pair needs replacing. Call (833) 495-0837 for an exact quote – estimates are free.
It can be for a straightforward swap on an already-balanced door, but it’s a false economy on a new door or a door that’s never been balanced. The parts cost the same either way. What you save on labor you can lose to a mis-set force limit, misaligned safety sensors, or a door that wears out the new opener within a season. On a full door-and-opener project, professional installation is the better value.
Same-day service is available for urgent repairs in Taunton, and we answer 24/7. Fast dispatch runs 7am to 7pm, Sunday through Friday. A call outside dispatch hours is booked into the next opening, Sunday through Friday, 7am to 7pm. The price is quoted and agreed before any work starts.
The local professional we connect you with is licensed and insured as their state requires. That matters when you’re deciding whether to do a bucket 2 job yourself: liability for a failed repair shifts to you when the work is done without training or coverage. Call (833) 495-0837 to book an estimate.
No. The written estimate is the price, and it’s agreed before any work starts. If a technician finds an additional problem while on the job, the repair doesn’t proceed until you’ve approved the change. You won’t get a surprise invoice on a job that was quoted at a lower number. Call (833) 495-0837 for a free estimate.
The Bottom Line
The DIY-versus-professional decision on a garage door comes down to one question: does the task involve stored mechanical energy or high-voltage wiring? If yes, it’s professional-only. If no, it may be a safe DIY job. Weatherstripping, lubrication, sensor alignment, and keypad batteries are all fine to do yourself. Torsion springs, cables, and counterbalance work are not. Opener installations sit in the middle and are the place where a DIY shortcut most often turns into a paid repair. For Taunton homeowners, the smartest move is a free estimate before you buy parts, not after. One call, one specialist.
Taunton Garage Door Repair Pros covers repair, opener repair, spring repair, and full new-door installation across LiftMaster, Chamberlain, Genie, Clopay, Amarr, Wayne Dalton, Craftsman, and Raynor. You can read more about us at Taunton Garage Door Repair Pros. Call (833) 495-0837 for a free estimate. We answer 24/7. Fast dispatch from 7am to 7pm, Sunday through Friday.
Written by the team at Taunton Garage Door Repair Pros.